Showing posts with label Yum. Show all posts

Wednesday, November 30, 2011

Mulberry and Apple Crumble

You never see mulberries at the supermarket for sale.  Such a shame.  A completely underrated berry, in my opinion.

Anyway, I was up visiting my Mum a few weeks ago and she has a mulberry tree.  We picked and ate to our heart's content.  I ended up with a purple mouth and purple hands and feet.  Such fun!

As the weekend was such a rush, I carefully packed some of the delicious berries into a container and brought them home with me.

Now to the crumble!
Yum!
Heat the oven to about 170 degrees celcius (about 180 if you don't have a fan-forced oven).
125gm butter
125gm plain flour
50gm sugar (add a little brown for a really caramel-y crumble!)

Rub the butter, flour and sugar together until it feels a crumbly texture.  Set aside.

Two pink lady apples (I'm sure any apples would work)
Cut your apples up onto bit-sized chunks.

Mmmmm.....the star - mulberries!  I used about 2 cups worth.  Wash thoroughly!


Layer the apples chucks and the mulberries in an oven proof dish.
Sprinkle with about 50 grams of caster sugar (use more or less depending on your taste.  I don't like mine sickly sweet).

Cover the fruit with an even layer of the crumble mixture and bake for 35 - 45 minutes or until golden on the top.


I like mine with custard.

Mmmmm....so delicious!

Thursday, September 22, 2011

Mmm...Magic Chocolate Fudge Pudding

I'm a big fan of making things rather than buying them.

This is a recipe my Mum gave me and it is delicious!  I decided to do a different take on it and it wasn't completely successful but who cares, it still tasted good.

So this is Magic Chocolate Fudge Pudding (or in the pics below, Magic Chocolate and Coconut Fudge Pudding)!

(The magic bit is that you put the sauce on the top and when you take it out of the oven, the sauce is on the bottom!)


 Preheat your oven to 180 degrees celsius (fan-forced).  Grab your ingredients and off you go!
1 cup plain flour
3/4 cup sugar
2 tablespoons cocoa
2 teaspoons baking powder
1/4 teaspoon salt
1/2 cup milk
1 teaspoon of vanilla
1 cup of chopped walnuts or peacans
3/4 cup brown sugar
1/4 cup cocoa (or you can use drinking chocolate)
1 3/4 cups hot water

Since I am making mine with a coconut twist, I have replaced the nuts with shredded coconut and used 3/4 cup of coconut milk and 1 cup of hot water rather than using all water (in hindsight I think the better switch would have been the 1/2 cup milk for 1/2 cup coconut milk).


Add the flour, sugar, cocoa, baking powder and salt to a bowl. 


Add the milk and vanilla and mix until smooth.

Then add the nuts (in my case, I added shredded coconut).


Mix together the brown sugar and the 1/4 cup cocoa or drinking chocolate (I prefer the cocoa myself as it is a bit less sweet) in a separate bowl.


Pour the batter into a greased oven dish and smooth the top with a spatula.


Sprinkle the brown sugar/cocoa mix over the top.


Then pour the hot water (or in my case, hot water/coconut milk mix) over the back of a spoon on to the top.  I recommend you do it over the back of a spoon otherwise the pressure of the water digs holes in the batter!


Bake for 30 minutes, then voila!  Magic Pudding!  This one doesn't look as good as usual because my sauce didn't all settle properly.  The original recipe it definitely the best but the coconut did give it a little something.  Usually you end up with a nice springy chocolate cake with a delicious thick chocolate sauce underneath.  Kind of like those self-saucing packet puddings you buy but a million times better!

You can also make this recipe in 6 ramekins (like the one below).  I often do this for dinner parties.  Just cook for 15 mins or so (you can push with a finger on the top of the pudding and when it springs back it is ready).


I usually serve with double cream and strawberries but today, I'm having it au natural!

Monday, September 19, 2011

Mmmm...Shortbread

Part of being thrifty can involve making your own food rather than buying it.

Ages ago I discovered this shortbread recipe from Margaret Fulton but I just never got around to making it.  Until this weekend!

So what changed?

It may be that I picked up one of those absolutely fantastic silicone baking sheets so now I don't have the fear my delicious crumbly morsels will stick to the tray (by the way, I HIGHLY recommend those silicone baking sheets - pure baking gold!).

This recipe is a bargain on two fronts.  Firstly, it only has three ingredients that cost next to nothing and secondly, you know what you are eating.  No nasty hidden extras you would rather not eat if you knew they were there.

So here is my attempt!


As promised, three ingredients:  250 grams butter (at room temperature), 1/2 cup of caster sugar and 3 cups of plain flour.

Preheat your oven to 160 degrees celsius.

Beat the butter in a bowl with an electric beater until it resembles whipped cream, then add the sugar gradually, beating it until light and fluffy.  Work in the flour gradually, then knead the dough for about 5 minutes, until the mixture is very smooth.


Wear an appropriate apron as food always tastes better when if it made wearing an appropriate apron!


Have the necessary tools on hand.


Using your hands push the dough out to about 1/2 cm thick on a floured surface (the baking sheet can come in handing here - you can do all this on the baking sheet).  Use a rolling pin to smooth over the surface if you like.

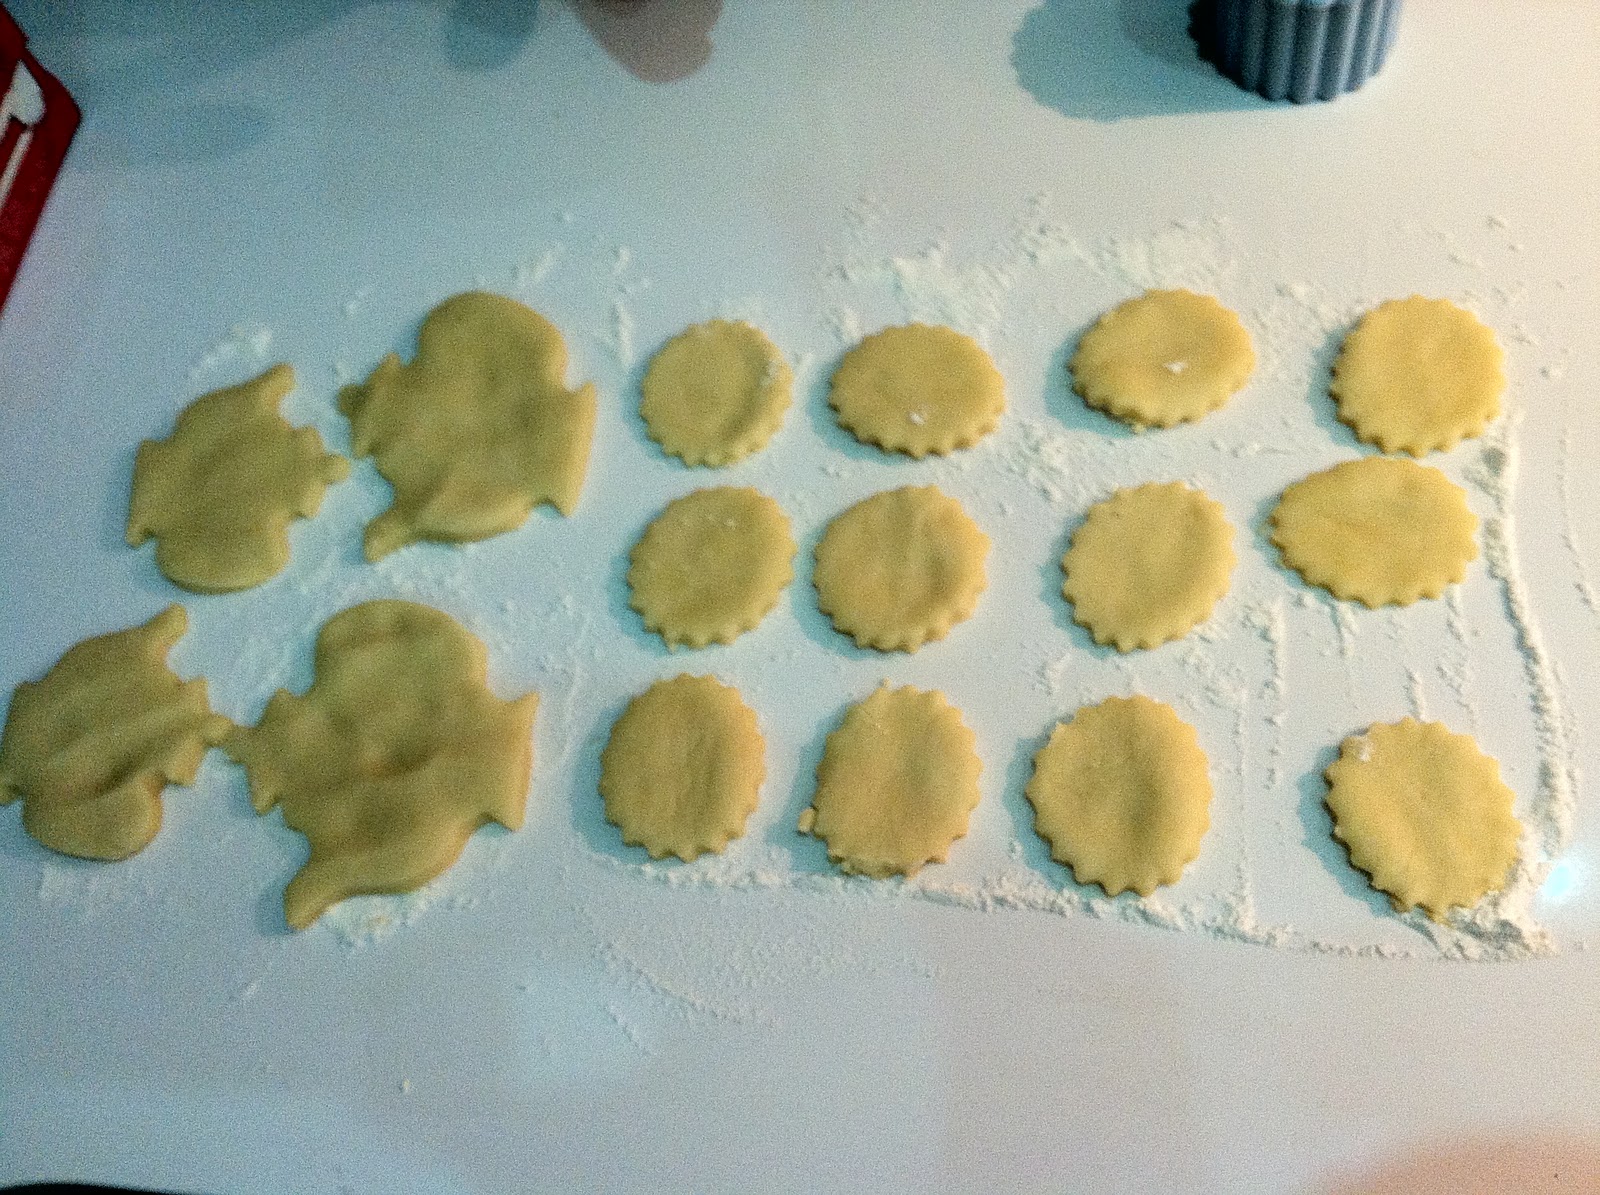
Use whatever cutter you like (I decided on some little teapots, then decided part way though to try out some round ones with frilly edges) to cut out shapes.  

Use the spatula to get the little shapes of dough off the bench (this is a little difficult to do without skewing the shapes).

NOTE:  Part way though, I realised that because it was a lovely warm spring evening, my dough was so warm it was too soft to work with.  If you also have this problem.  Roll the dough into a ball, wrap in cling wrap and pop it in the freezer to 10-15 minutes to firm up.  Then take it out, knead it briefly until smooth and start this section again.


Once you have your tasty little shortbread shapes, pop them onto a greased baking tray or a silicone baking sheet on a backing tray and put into the preheated oven.  The time depends on the size and thickness of your shortbreads.  I put mine on for 15-18 minutes but if you use a larger cutter, you will need to give it a bit more time. 


They are ready when they just start to brown a little.  If you aren't sure how long to put them in for, keep a close eye on them because it is a very short timeframe between lightly tanned and charcoal!

Once out of the oven, transfer the shortbread onto a wire rack to cool.  It is lasts longer than a couple of hours after baking, it can be stored in an airtight container.


YUM!

P.S.  The tradition shape for shortbread is to divide the dough in two.  Push out each half into a circle about 24cm in diameter on a baking tray.  Crimp the edges by pinching the dough between your fingers, or pressing a fork around the edge to create a frill.  Using a 7cm round biscuit cutter, cut a circle in the centre of the dough.  Keeping that smaller circle whole and intact, cut the remaining round into 12 segments.  Prick decoratively with a fork, lightly dust with extra caster sugar and bake for 40 minutes.